Hi everyone! I’m so excited to finally start up a blog for my sewing and cosplay projects. I hope to continue transforming this website into my little personal space on the internet. Thank you so much for stopping by and hopefully you find this little review helpful.

The pattern I am talking about today is Simplicity S0736/1388. I feel a little silly for not knowing this originally, but I have two versions of this pattern. S0736 was reprinted as an Official Nintendo Licensed Product using their licensed character fabric from The Legend of Zelda. I made the mistake of rebuying this pattern again and didn’t realize I had the original print at home. Either way, both versions instructions are the same and offer the exact 5 different backpack and messenger style bags for you to choose from.
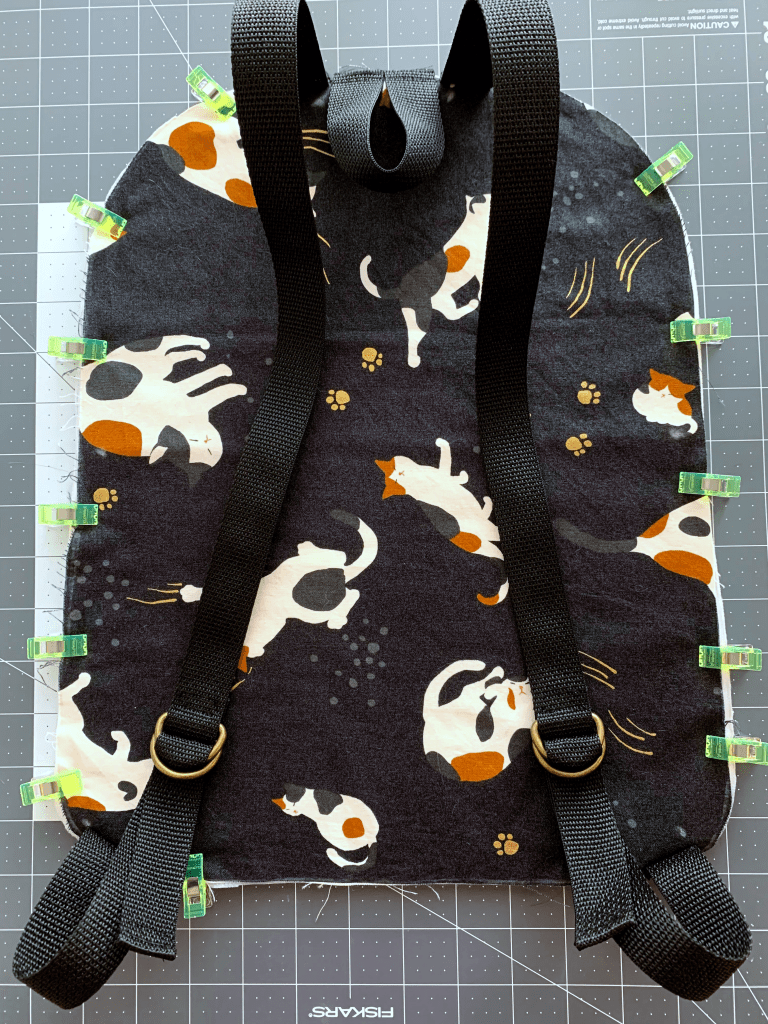
I have some experience working with commercial patterns before and usually find Simplicity to be one of the easier brands to follow. I decided to try making version A because it seemed slightly easier and I wanted something smaller for everyday use. Version A requires a few different notions I was not accustomed to working with yet such as webbing, D-rings, and zippers by the yard. Now, you can buy zippers already in the required size you need, however, I wanted something a little bit fancier. Plus leave it to me wanting to try something new.
This pattern was mostly straight forward but a little confusing at parts. If you are a beginner, you might struggle with some sewing terminology such as basting, right sides together, or sewing a top-stitch. With commercial patterns, most will use this type of terminology and expect the reader to already know some basic phrases. The instructions may look visually overwhelming at first because the pattern contains multiple bags assemble directions. I wish the pattern had one more page of instructions to create larger more detailed images to follow along with.
Assembling the backpack was not very difficult however, I had some trouble getting the gusset to line up properly with the marked notches. This made the final backpack measurements smaller than intended and I had to adjust the lining to fit. This was not a huge deal and the suggested 22” zipper fit properly in the end. I just wanted to make note of this issue because a beginner might have struggled with this step.
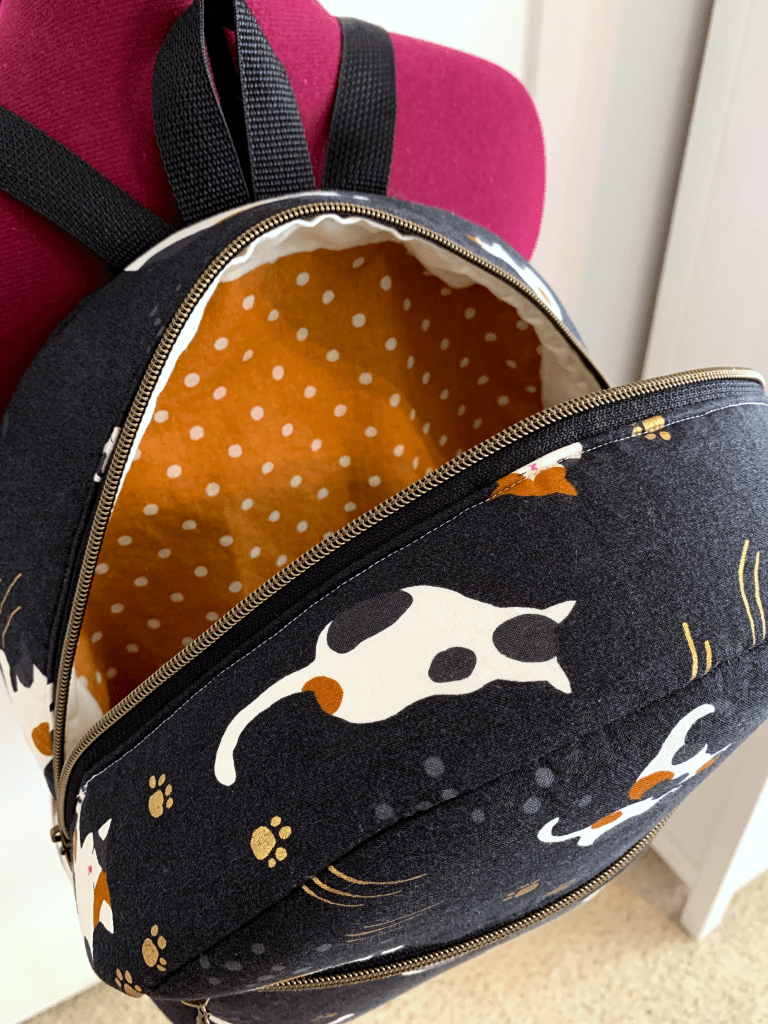
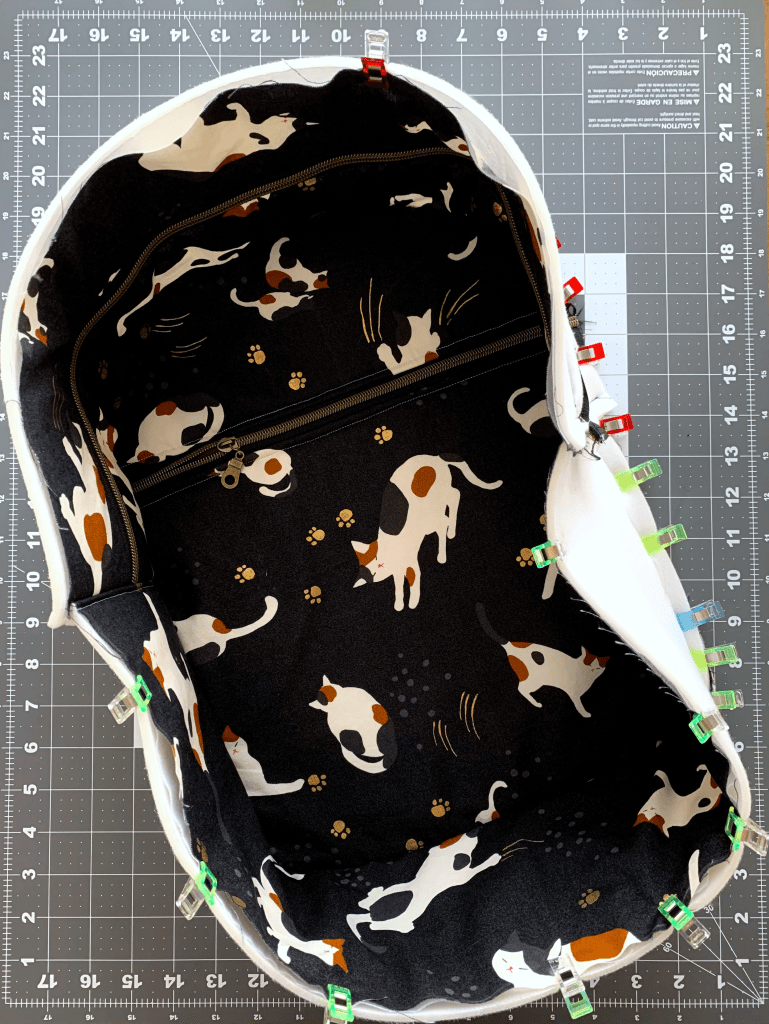
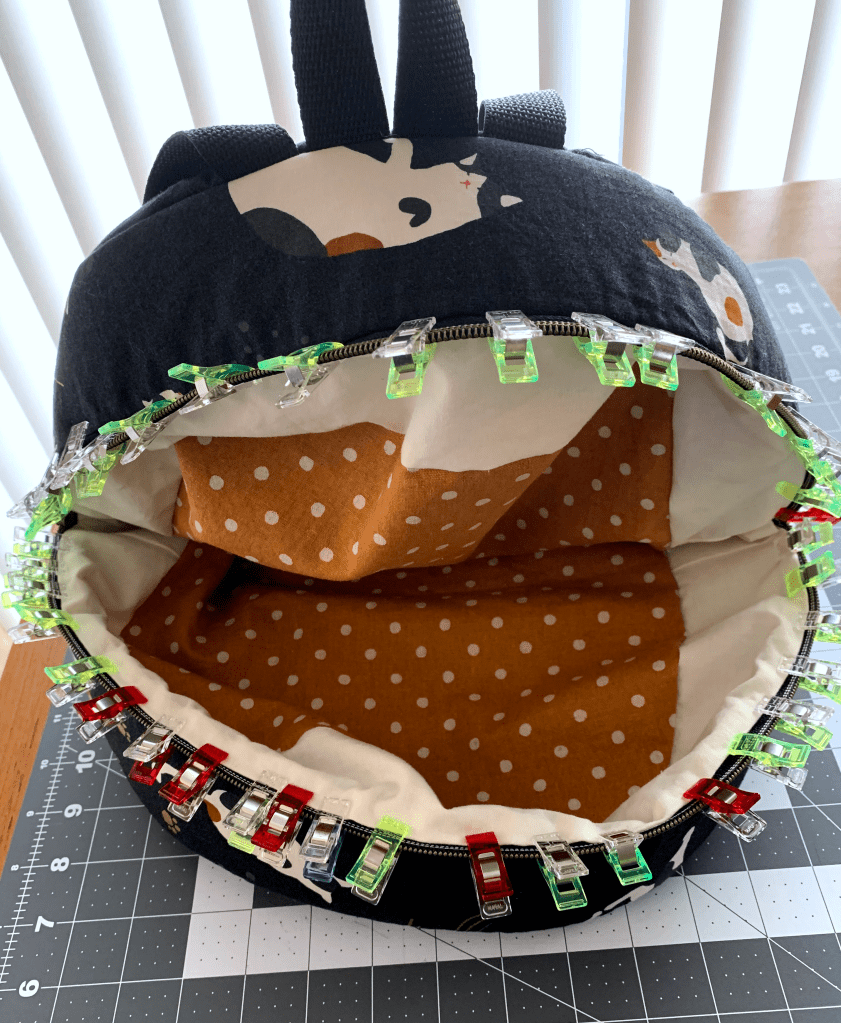
The step I struggled with the most while making this backpack was top stitching the outside fabric along the zipper tape and catching the lining underneath. I had no idea how I was going to pin this cotton lining to my already very bulky backpack with multiple layers of cotton, fleece, interfacing, and a zipper. I proceeded to try using pins and ended up with some bloody accidents that nearly avoided ruining my adorable cat fabric. I eventually switched to clips. Thanks to the many layers of materials, it caused a slip and slide effect trying to sew a neat looking top-stich. I think it took me four tries to attach the lining, but I eventually made it work.
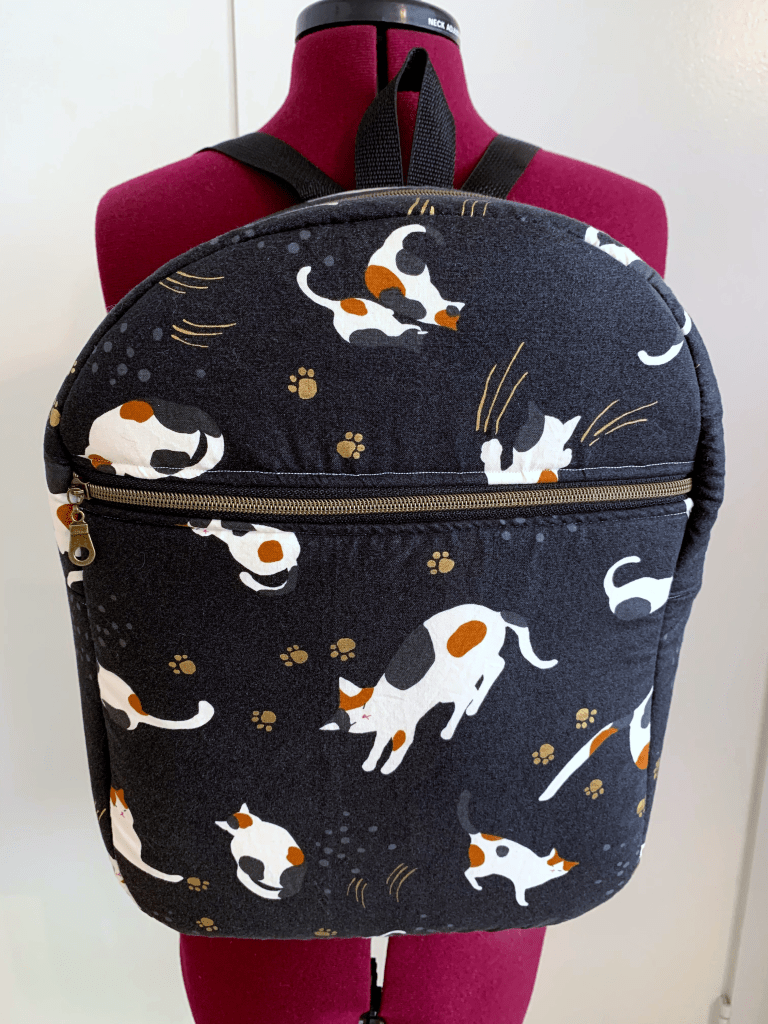
The ending result of the backpack turned out super cute! The zipper I purchased complimented the cat fabric perfectly. The lining inside was still too big after adjustments but I will eventually hand sew the corners of the lining to the inside of the backpack. Despite having some complications with the heavy weight bulk of the project, my Brother sewing machine handled this project like a champ! Just make sure you use a heavier weight needle based on your sewing machine manual. Overall, I really enjoyed the final product and found Simplicity does a good job at providing easy to follow commercial pattern instructions.